How to install rivets and a metal button on jeans with your own hands using improvised tools - a step-by-step master class.

Rivets and a metal button are a traditional set of metal fittings for jeans. If you sew jeans yourself, your attention is a master class on how to install rivets and a button with your own hands.
For example, rivets and a button can come in handy for these models:
- Special offer

- 1
- 2
- 3
- 4
- Special offer

- 1
- 2
- 3
- 4
- Best-seller
- Special offer

- 1
- 2
- 3
- 4
- Special offer
- 1
- 2
- 3
- 4
- Special offer
- 1
- 2
- 3
- 4
We sew jeans and jeans pants: a selection of patterns
You will need:

- a set of fittings (rivets and buttons);
- pliers;
- nippers;
- awl;
- hammer;
- An anvil or something that will fulfill its function (you need something solid, ideally metal, but a thick board made of dense strong wood is also suitable);
- rubber mat;
- a narrow masking tape;
- marker.
How to sew denim stretch: life hacks and tips
Step 1

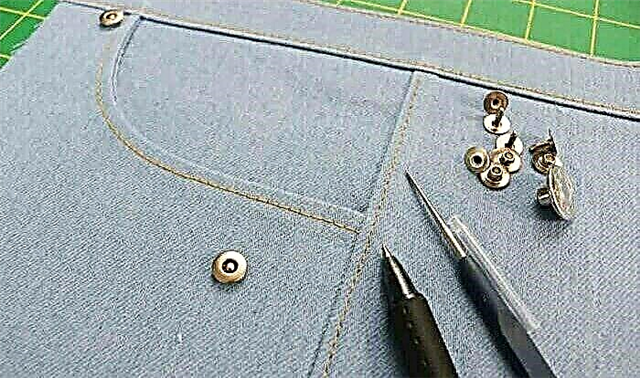
Consider first the fittings. As a rule, for jeans you need:
- a button (it can be of different diameters) and a carnation included in the kit (it can be smooth all-metal, smooth tubular or, as in our case, with a circular notch, it holds better when installed at home);
- rivets, they are holnet (consist of a hat, a part located outside, and legs, this is a part that secures the hat and located inside).
Step 2

Decide where you will put the rivets. A simple option: seek an example from a pair of jeans that you like in this regard. Experienced seamstresses convince: if you want to put rivets not only on the front, but also on the back pockets, you should think about this twice. The fact is that the rivets on the back can scratch or damage the furniture when sitting.
Step 3

Put the rivets in place and press them into the fabric with your finger. Small circles will remain: place a dot in the middle of each with a thin marker or pen.
Step 4
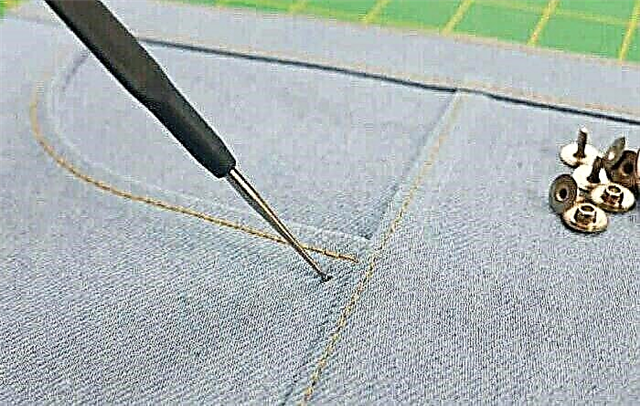
Make holes in the designated places with an awl. Puncture all layers of tissue, trying not to tear, but to spread its fibers.
Step 5


From the inside, insert the details of the rivet legs into the holes.
Step 6

Bite off the excess part of the leg with pliers, leaving 1-1.5 mm above the surface of the fabric.
Step 7
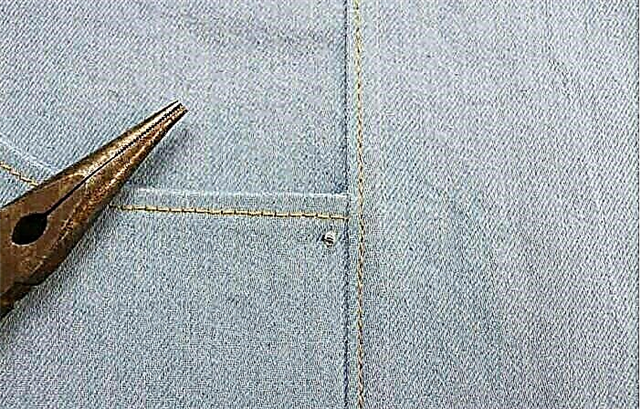

If the leg, as in our case, is hollow, then when bitten off, it can flatten somewhat (see photo). However, the all-metal leg can also flatten. One way or another, the leg needs to be trimmed. Do this using flat-nose pliers or thin-nose pliers, being careful not to overdo it or flatten the leg in the perpendicular direction. Ideally, the leg should return to its original round shape.

If it turned out that the leg was bitten off a bit diagonally, it is better to trim it by gently tapping with a hammer on top.
All these manipulations will help to plant a rivet more firmly, beautifully, plus - increase its chances of staying in its place for a long time.
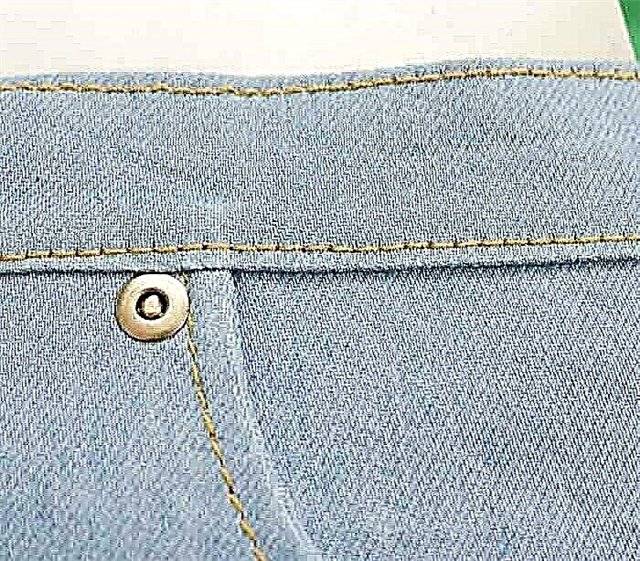
Step 8


Put the rubber mat on the anvil, and a sheet of paper on top. Place the jeans on top. Place the rivet hat on the foot. Pretty hard, with a firm hand, hit the hat with a hammer. Check if there is clearance between the hat and the fabric, and if the hat can rotate. if so, hit again. The final result should be as in the photo: the cap fits snugly on the fabric (and does not rotate), but the fibers of the fabric are not damaged. Repeat with the rest of the rivets.
Step 9

Let's move on to setting the buttons. Mark the installation point of the button.
Step 10

Pierce a hole in the intended place.
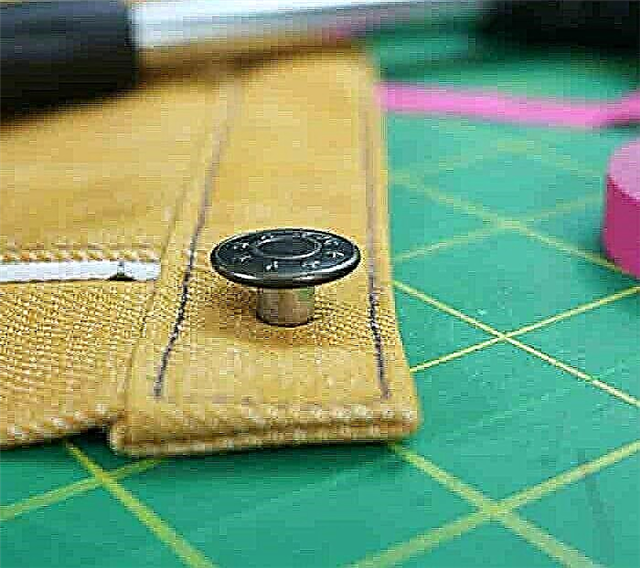
Step 11

Place the mat on an anvil or board. Put the button on the mat with the bottom part up (see photo) and secure with two strips of masking tape. Make sure you don’t seal the hole in the button leg.
Step 12


Insert the carnation from the inside into the hole in the belt. Make sure that the clove leg is fully seated in the hole.
Step 13

Place the tip of the cloves in the center of the hole in the button.
Step 14

Holding the belt with your hand (take care of your fingers!), Hit the head of the clove with a fairly hard hammer. Check if the button rotates. If yes, repeat.
Both the button and the clove hat should fit snugly against the fabric without damaging it. Done!

Photo and source: imaginegnats.com, iloveyousew.com