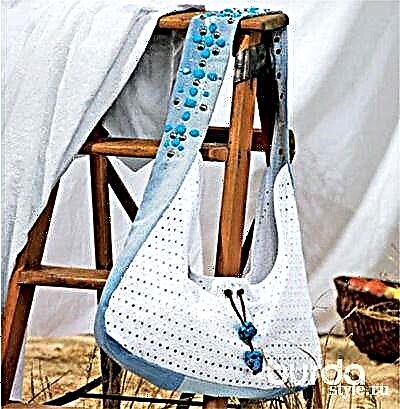
Straight fit, round neckline, 7/8 sleeves - seemingly a simple model. But this is not so! The knitted pullover, which can be mistaken for a regular blouse, has deep folds at the back of the line of shoulder seams.

Surely, when viewing some models of Burda, you noticed that it is not always possible to determine at a glance which material the product is sewn from. But even after finding out the details, doubts about the choice of material still remained. And then a thought crept in, or maybe it’s worth trying to sew a specific model from ordinary fabric, and not from knitwear. The reasons for such doubts lie not only in the desire to experiment, but also in the pattern itself, its versatility, simplicity, free cut, in the absence of complex details.
So with our knitted pullover from the October collection of Burda "Thicken the paint", which became the theme of the month:
- Special offer
- New

- 1
- 2
- 3
- 4
The model is free, without any hint of fit, the sleeve is not narrow. The back is wider due to deep folds laid along the line of the shoulder seams.

That is why I decided to try to sew a simple bright blouse from ordinary viscose in saturated coral color according to the pattern of the pullover from knitwear.
You will need:
✂ Blouse viscose 1.20 m wide 140 cm;
✂ Tailor scissors;
✂ Tailor's chalk;
✂ Ruler for marking allowances;
✂ Needle and thread for sewing
Pattern changes
Neck
Since we sew a viscose blouse, the neckline needs to be enlarged by expanding it, or a small cut should be made along the line of the middle of the front.
In this master class, we will make a straight cut and process it with a grind.
Hem
The bottom of the blouse and sleeves will be treated with a double hem 1 cm wide.
Direct neckline treatment
Step 1. Cutting

Place the details of the paper pattern on the fabric, pin and cut with allowances (1.5 cm on the seams and cuts, 2 cm on the hem and bottom hem):
21 - before with a fold 1x
22 - back with a fold 1x
23 - sleeve 2x
Separately, cut the neckline of the required length and the bar for processing the incision.
Throat cut processing
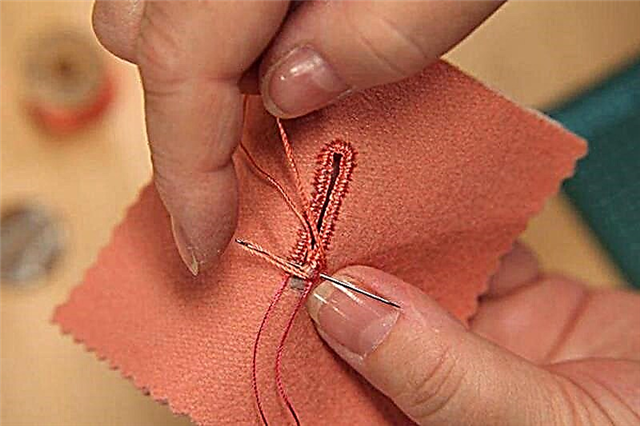
Step 2. Section of the neck of the front

Along the front line, mark the section with a wide notched stitch.
Determine the cut length independently, from about 7 to 12 cm.

Place the bar over the shelves with the front side to the front side, aligning the middle of the bar with the cut line exactly.

Take it.


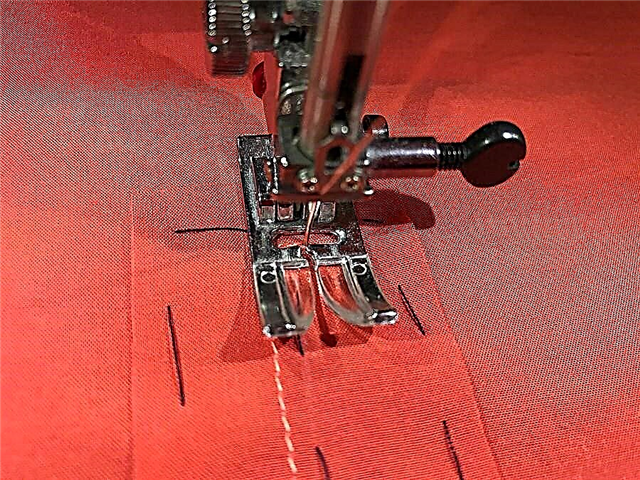

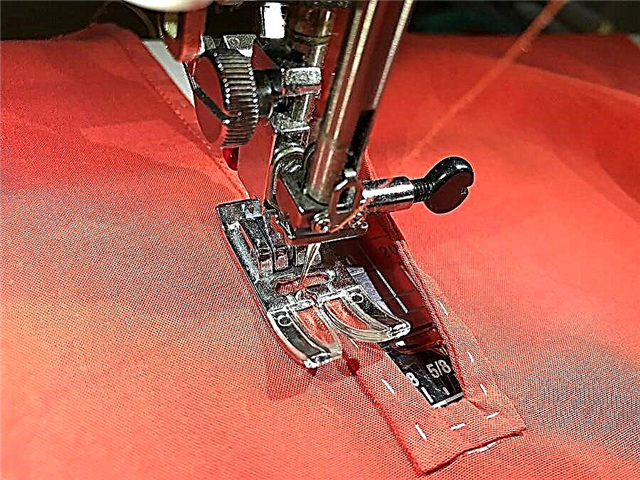
From the wrong side, grind the bar, stepping back to the right and to the left of the section marking line approx. 3 mm.


From the wrong side of the shelf at the bottom of the seam for attaching the strap, iron a gasket measuring 1x1 cm.

Precisely according to the marking, make a cut, not reaching the transverse stitch of 2-3 mm.

At the bottom of the cut, make notches on the corner close to the stitches.


Iron the bar on the allowances, and then unscrew it on the wrong side.

Bend the cut allowances with cuts of the bar, sweep and iron.

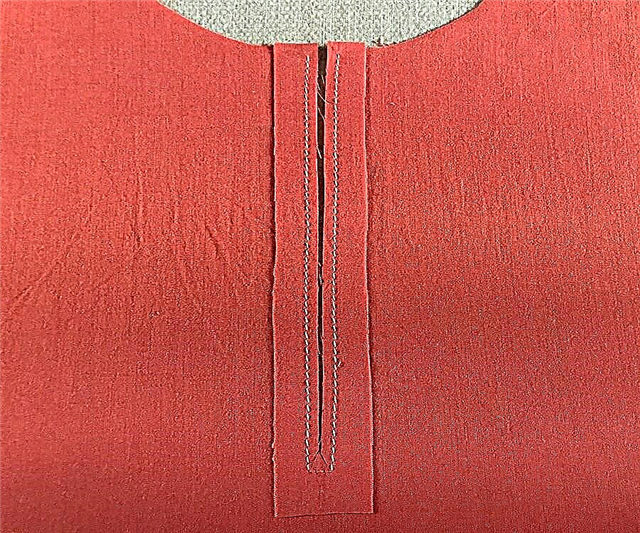
Stitch the bar from the wrong side.

Iron.
Step 3

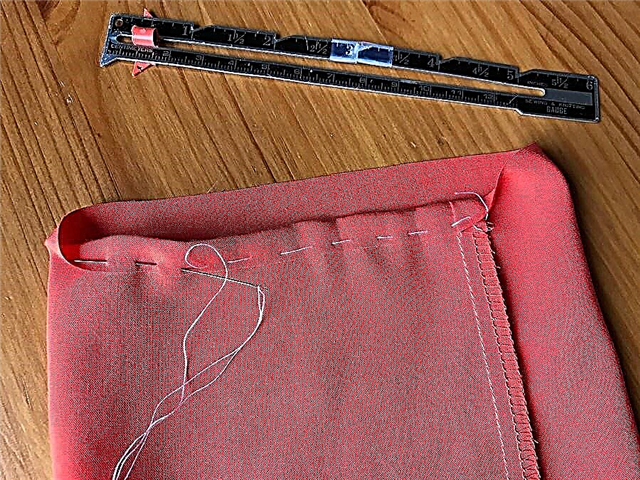
On the back, lay the folds in the direction of the arrow marks and stab or sweep them along the allowances.
Step 4
 The article will continue after the advertisement.
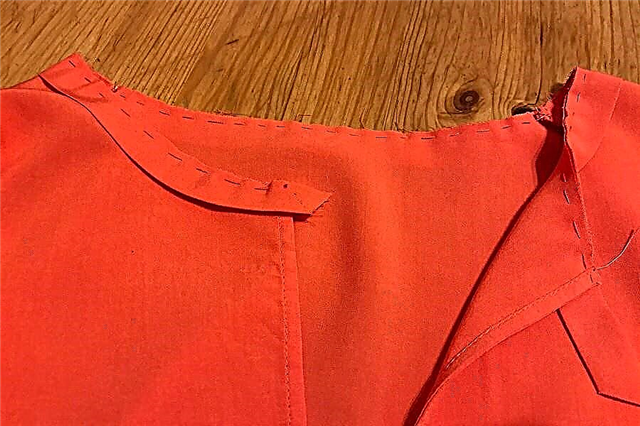
Put the shelf on the back with the front side to the front side.
Chop and grind shoulder sections.
Overlock the seams of each seam and iron on the back.
Step 5

Chip off and then grind the side seams.

Overlock the seams of each seam and iron on the back.
Step 6

Fold the sleeves with the front side inwards, chip.

Complete the seams of the sleeves.
Overlock the seams of each seam and iron back.
Step 7

Insert sleeves into armholes with the front side facing the front side.
Chop off sections of armholes and sleeves by aligning the transverse marks on the sleeves and the ledge, the transverse marks on the rounds of the sleeves with shoulder seams, and the side seams with the seams of the sleeves.

Stitch the sleeves.

Overlock the seams of each seam and iron on the sleeve.
How to cut a slanting inlay from a thin fabric
Step 8. Neck Processing

Fold the neckline in half along the seamy side inward and iron.

Using the iron, give the collar a semicircular shape.
And then bast the tape to the neckline with the front side to the front side, aligning the open sections of the neckline with the edge of the neckline allowance.

Sew the take.

Iron the strap up.


Then unfasten the truss along with the allowance on the wrong side with a small transition edging. In this case, the inlay should overlap the allowance. If the oversize protrudes, trim it.
Take in an edge, sew on the hem and iron.
How to sew an oblique edging: 3 ways
Step 9. Bending the bottom of the blouse and sleeves

Unbolt the allowances for the bottom of the blouse and sleeves on the wrong side by 1 cm and bast.


Then unscrew the allowance again and bast again.


Scour the stocks and then iron.


Done!
Important
✂ For the success of such an experiment, remove the pattern a size larger. In the first fitting, if necessary, you can adjust the size.
✂ The model should be free, and the pattern as simple as possible.
✂ Use only light, softly draped fabrics or fabrics with elastane.
Easy sewing and beautiful new things for you!
More interesting articles, master classes and patterns are waiting for you on the Themes of the Month page!
The author of the master class and photo: Julia Dekanova